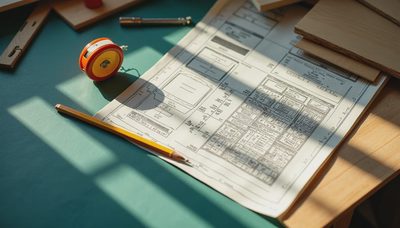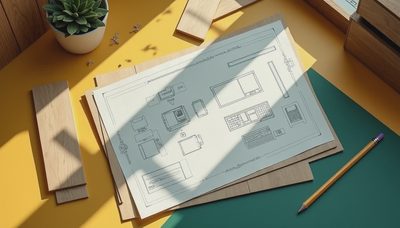


The right diy l shaped desk plans start with the room, not the lumber. Before cutting a single board, measure the walls, note the location of outlets, and decide whether the desk will support one monitor, two workstations, or a full home-office setup. An L-shaped desk can turn an unused corner into a serious eight-hour workspace, but only when the depth, legroom, and cable paths are planned together.
I have built my own desk three times, and the lesson is consistent: a strong top is only half the job. A 72-inch desktop that rests on weak brackets will sag, wobble, or pull away from the wall. For most remote workers, a practical build uses a 60- to 72-inch main run, a 48- to 60-inch return, and at least 24 inches of usable depth. That gives you room for a monitor, keyboard, notebook, and a lamp without forcing your elbows against the wall.
Start With a Room-Sized Layout
Measure the corner in at least three places because older homes rarely have perfectly square walls. In a 10-by-11-foot office, a 72-by-60-inch L-shaped desk usually leaves enough room for a 30-inch-deep storage cabinet and a comfortable path to the door. In a shared room, reduce the return to 48 inches and keep the total footprint under 30 square feet. Mark the proposed edges on the floor with painter's tape for a full day. That simple test catches problems such as a chair hitting the return or a drawer blocking a closet.
The best diy l shaped desk plans also reserve clearance behind the chair. Allow at least 36 inches between the front edge of the desk and the opposite wall or furniture. If you use a rolling office chair, 42 inches feels much better, especially when you switch between the main run and return. Keep the inside corner usable by placing a monitor arm there or leaving a 10-inch cable-management zone rather than pushing two sharp desktop corners tightly together.

Choose Materials That Stay Flat
For a first build, 3/4-inch cabinet-grade plywood is usually a smarter choice than construction lumber. Plywood has alternating layers that resist movement, and its edges can be covered with iron-on veneer or solid-wood edging. A 4-by-8-foot sheet costs roughly $60 to $120 depending on grade and finish, while prefinished maple or birch plywood can cost more but eliminates much of the painting work.
Solid pine is inexpensive and easy to cut, but wide boards can cup as humidity changes. If you use it, join narrower boards rather than relying on one wide plank, and attach the top with fasteners that allow slight seasonal movement. Medium-density fiberboard, or MDF, creates a smooth painted surface, but a 3/4-inch sheet is heavy and vulnerable to swollen edges if water reaches the material. It works best when every edge receives primer and paint.
For the frame, use two-by-four lumber only where you need substantial support. A cleaner-looking base can use 2-by-2 hardwood legs or metal desk legs rated for the intended load. The important specification is not the marketing label; it is the distance between supports. Keep unsupported spans around 36 to 48 inches. If your main section is 72 inches long, place a center support or use a modest apron under the back edge.
Build the Top and Corner Joint
Many diy l shaped desk plans treat the corner as an afterthought. That is where most homemade desks show their weakness. You can make a simple butt joint by bringing one top into the edge of the other, but the exposed end grain and visible seam need careful alignment. A better approach is a half-lap joint, where each surface is cut to half its thickness so the pieces overlap at the same height. This requires more measuring but creates a larger glue area and a cleaner top.
If you do not own a router or table saw, use two separate rectangles with a small 1/8-inch expansion gap and support them independently. Join the underside with steel mending plates or a plywood cleat, then fasten each section to its own base. This is easier to transport and repair than a single giant desktop. Sand the joint progressively with 120- and 180-grit paper, then seal the top with three coats of water-based polyurethane or a durable furniture paint.
Cut cable openings before installation. A 2-inch grommet near the rear corner is enough for monitor, laptop, and lamp cables, while a second opening on the return keeps charging cords away from the primary work area. Do not drill directly above a support or wall fastener. Measure twice from both edges and check the underside before using a hole saw.
Support, Fasten, and Finish the Base
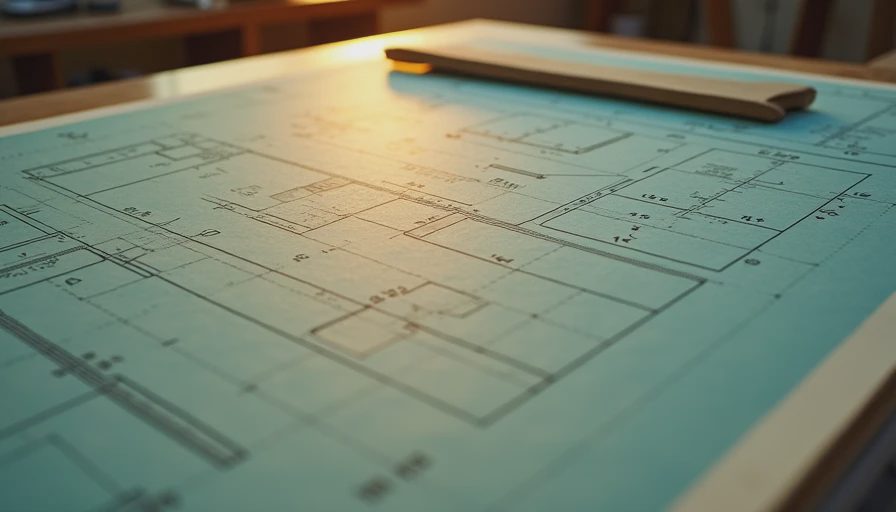
A desk that looks solid can still rack from side to side. Racking is the twisting movement that happens when the base has no diagonal or rigid connection. Add a back rail between legs, a side panel, or a low storage unit at the end of the return. A 24-inch-wide two-drawer filing cabinet can act as one support, but verify that its top is level with the other base before fastening the desktop.
Attach the top with screws through elongated holes in the rails, or use figure-eight fasteners. The slots let solid wood expand and contract instead of splitting. For plywood, standard clearance holes are fine. Pre-drill near every edge to prevent cracking, and choose screws long enough to hold without breaking through the top. A 1 1/4-inch screw often works for a 3/4-inch top and rail, while thicker assemblies require a different length.
Finish the parts before final assembly if the desk must fit through a narrow doorway. In a Charlotte ranch house, I would rather carry two manageable sections than wrestle a 72-inch L-shaped frame around a hallway corner. Label each leg and rail with painter's tape, then use a level during assembly. Small shims under a leg are acceptable; a visibly twisted frame is not.
Useful Upgrades for Daily Work
The most useful upgrades in diy l shaped desk plans are rarely decorative. Add a monitor arm with a clamp or through-desk mount, but reinforce the mounting area with a plywood block underneath. Use a 24- to 27-inch monitor for a typical 24-inch-deep surface and keep the screen about an arm's length away. If you write by hand, leave at least 18 inches of clear space beside the keyboard rather than filling the entire top with accessories.
A sit-stand converter can work on a homemade desk, but its weight and movement require a stable base. If you want a full electric standing desk, build two separate tops or buy a rated lifting frame instead of improvising a motorized mechanism. Budget $250 to $600 for a reliable frame, while a fixed DIY build can land between $180 and $400 including plywood, hardware, finish, and legs.
For storage, mount a shallow shelf 12 to 16 inches above the desktop, but keep it out of your monitor's sightline. A cable tray below the rear edge costs less than $30 and prevents power bricks from hanging against your knees. These details make the finished station feel engineered rather than merely assembled.
A Practical Build Sequence
Review diy l shaped desk plans one final time before shopping. First, confirm the finished dimensions and draw each top and support to scale. Second, buy the sheet goods and inspect them for bowing before loading them into the car. Third, cut the desktop pieces, label every part, and dry-fit the corner. Fourth, build and square the base before applying finish. Fifth, seal or paint all exposed edges, especially MDF and plywood end grain. Finally, assemble the sections, level the surface, install cable management, and test the desk with the real chair and equipment.
Do not skip the load test. Place the monitor, computer, speakers, and other equipment on the top, then lean lightly against different areas. Movement usually points to a loose joint, an unsupported span, or an uneven floor. Fix that before trusting the desk for daily work. The strongest diy l shaped desk plans leave enough access to tighten hardware later, because wood and screws settle during the first few weeks.
A custom desk does not need exotic joinery or expensive walnut. It needs accurate measurements, a flat top, properly spaced supports, and a layout that respects how you actually work. If you can answer those four questions before opening the saw, your corner office will be more stable, more comfortable, and easier to improve than most ready-made desks.