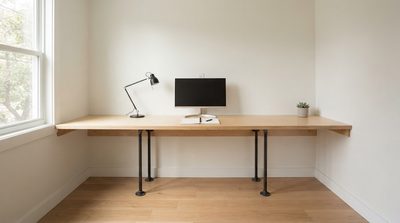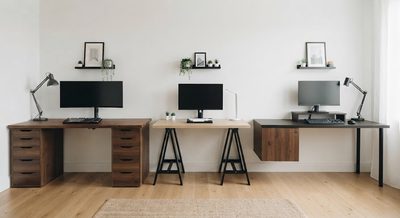
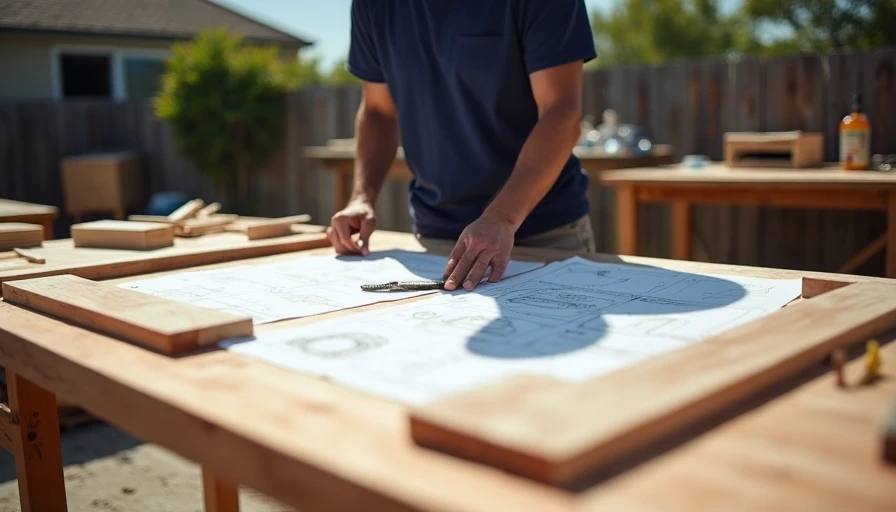

Most diy desk plans begin with a pretty photograph and end with a shopping list. That is backward. A desk is a work tool, and the useful questions come first: How many inches of surface do you need, where will your chair move, and what will keep the top from sagging after two years? After building my own desk three times in a Charlotte, North Carolina, garage, I now start with the workflow and room measurements rather than the wood species.
For a remote worker at a laptop, a 48-inch-wide by 24-inch-deep surface can work. Add one 27-inch monitor, speakers, and a notebook, and 60 by 30 inches is more realistic. If two people share a wall, two separate 48-inch stations usually function better than one oversized top because each person gets a clear cable path and chair zone. Good diy desk plans make those constraints visible before you buy a single board.
Start with the room, not the lumber
Measure the wall, baseboards, door swing, window trim, and available outlet locations. In a 10-by-11-foot bedroom, a 60-inch desk on the 11-foot wall leaves room for a 30-inch-deep chair pullout, but a bookcase opposite it can reduce the walking lane quickly. Keep at least 30 inches behind the chair when possible; 36 inches feels much better during video calls and file handling.
For a corner office, measure both walls and subtract the depth of the top from each dimension. A 24-inch-deep return can swallow a corner faster than expected, especially when monitor arms clamp to the back edge. Closet offices need another approach: a 42- to 48-inch top, shallow drawers, and a removable desktop if the closet must still hold coats or storage bins. These are the measurements I expect to see in diy desk plans, not vague advice to "make it fit."
Desk height deserves equal attention. The common target is about 29 inches, but your elbow position matters more than a standard number. Sit in your chair with shoulders relaxed and forearms level. Measure from the floor to the underside of your elbows, then account for the desktop thickness. A 1-inch top on 28-inch legs creates a different working height than a 1 3/4-inch butcher block on the same base.
Pick materials that match the load
The cheapest practical top is often a laminated pine panel, but it needs support. Solid wood moves as humidity changes, so attach it with figure-eight fasteners or slotted brackets that let the wood expand across its width. Do not glue a solid top rigidly to a steel frame unless the design specifically accommodates movement. That small detail separates durable diy desk plans from builds that split or bow.
Plywood is a strong choice for a painted desk. Three-quarter-inch birch plywood has stable layers and clean edges, although its exposed plies need edge banding or a hardwood strip. Medium-density fiberboard, or MDF, paints smoothly and stays flat, but it is heavy and vulnerable to swollen edges if water reaches the surface. For a 60-inch top, I prefer 3/4-inch plywood with a 1 1/2-inch front nosing rather than an unsupported sheet.
A reclaimed door can work, but inspect it carefully. Hollow-core doors are light and inexpensive, yet they need solid blocking where legs and monitor arms attach. A solid wood door can weigh more than expected and may have hardware holes to fill. A butcher block from a home center often costs $150 to $300, while a custom hardwood top can cost several times more. The cheaper panel is usually the smarter buy when your priority is a stable surface, not heirloom furniture.
Build the base around real use
Two drawer units are convenient, but they limit legroom and can force your knees into a handle. For a seated workstation, leave at least 24 inches of clear width between supports and roughly 27 inches of clear height beneath the top. A pair of steel legs or simple trestles gives more flexibility than cabinets and makes it easier to reposition the chair.
Many diy desk plans use 2-by-4 lumber for every component. That is fine for a workshop table, but it can look bulky in a bedroom and make cable routing awkward. Use 2-by-2 framing for hidden rails and 3/4-inch plywood for visible panels when the span is properly supported. A center stretcher is useful on a wide desk, but place it toward the rear so your feet do not hit it.
Joinery does not need to be complicated. Pocket screws work well for painted plywood assemblies when the screw enters a thick edge, while dowels or loose tenons provide better alignment for visible hardwood joints. Predrill near board ends to avoid splitting. Add adjustable feet if the floor is uneven; a 1/8-inch wobble becomes irritating every time you type.

Plan cables, lighting, and equipment
Cable management should be designed before the top is attached. Put a 2-inch grommet near the monitor stand, not directly behind your keyboard, and leave a second route near the wall for power. A shallow tray mounted under the rear edge can hold a power strip without consuming legroom. Keep the power brick off the floor where a vacuum, pet, or rolling chair can pull it loose.
Monitor arms create a concentrated load at the rear edge. A clamp on a thin MDF top can crush the material, so add a hardwood reinforcement block underneath or use a through-bolt with large washers. If you use two monitors, check that the base remains stable when both screens are extended forward. Good diy desk plans show this equipment location instead of treating the desktop as an empty rectangle.
Lighting also affects the layout. Position a task lamp to the side opposite your writing hand when possible, and avoid placing a bright window directly behind the monitor. If the desk faces a window, control glare with a shade rather than turning the entire setup sideways. A 60-inch surface should leave enough room for a lamp, notebook, and monitor without pushing the keyboard to the front edge.
A practical build sequence
Cut the top only after confirming the final wall clearance. Sand visible edges, seal all faces, and apply finish underneath as well as above; unfinished undersides absorb moisture unevenly. For painted MDF, use an edge primer before sanding and applying two finish coats. For hardwood, a water-based polyurethane keeps the color lighter, while hardwax oil is easier to repair but needs more regular maintenance.
Assemble the base without fully tightening every fastener, level it in the room, then secure the top. Test the chair, keyboard, drawers, and monitor position before loading the desk. Push it gently from each corner. If it rocks, adjust the feet or correct the base rather than hoping equipment weight will stabilize it.
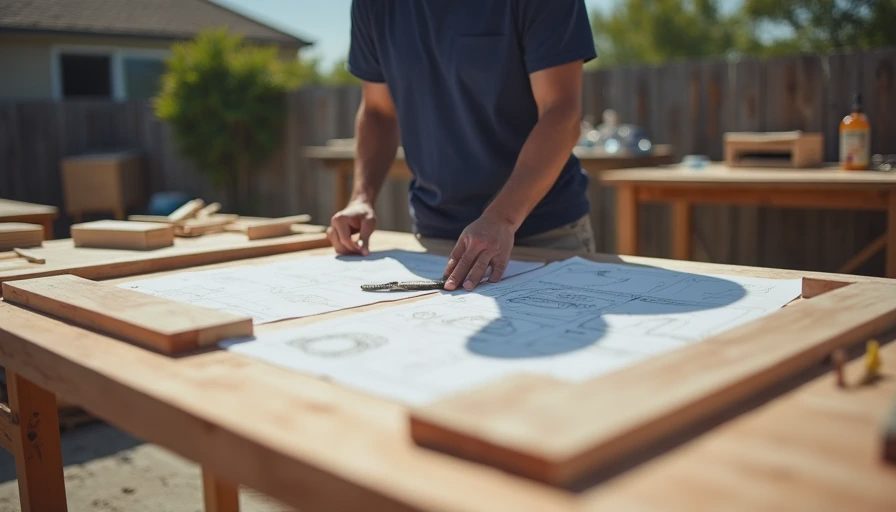
The most useful diy desk plans include a cut list, hardware sizes, support spacing, and a finishing schedule. They also identify the parts that can be substituted. A $35 set of legs may be perfectly adequate for a laptop, while a heavy monitor setup deserves a more rigid frame. Spend money where the load and movement demand it, and save it on decorative details you will barely notice during a workday.
The final test before you commit
Tape the proposed footprint on the floor with painter's tape. Place a chair inside it and simulate reaching for a drawer, turning toward a second monitor, and standing up during a call. If your knees touch a cabinet or the chair blocks the doorway, fix the plan now. Moving tape costs nothing; moving a finished desk is a two-person job.
Then make a short materials checklist: top, supports, fasteners, finish, cable hardware, leveling feet, and wall protection. Price the complete build, including sandpaper and delivery. Some diy desk plans look inexpensive until the project adds $80 in hardware and another weekend of rework. A straightforward 60-inch plywood desk with steel legs can still deliver an excellent workstation for roughly $200 to $400, depending on the finish and equipment support.
That is the standard I use for diy desk plans: measurable fit, a stable base, serviceable cables, and enough depth to work without crowding. Build for the hours you actually spend there, not for the photograph at the end. A desk that disappears into your workflow is the successful build.