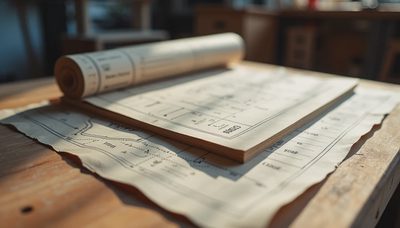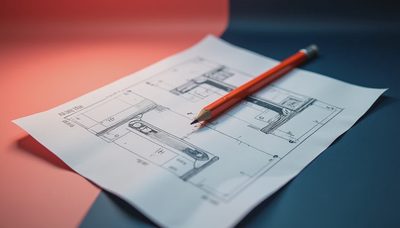


Free DIY desk plans are easy to find, but useful ones should do more than show a finished photograph. A desk has to support your monitor, keyboard, elbows, and daily habits without wobbling, sagging, or stealing half the room. After building three desks in my Charlotte garage, I have learned that the successful projects begin with measurements and load paths, not decorative trim.
For a full-time home office, start by deciding how you work. A laptop-only setup can fit on a 42-inch-wide surface. Two monitors, speakers, and a notebook are more comfortable at 60 inches. If you use a large desktop computer, drawing tablet, or paper files, 72 inches gives you useful breathing room. Depth matters just as much: 24 inches is a practical minimum, while 30 inches gives a monitor arm and keyboard more flexibility.
Choose the desk design before buying lumber
The simplest design is a top supported by two drawer units or trestle legs. It is fast, inexpensive, and easy to disassemble when you move. A wall-mounted desk saves floor space in a bedroom or closet office, but it requires solid framing and careful anchoring. A corner desk adds surface area, although the inside corner can become a dead zone where cables and papers disappear.
Among free DIY desk plans, a straight desk with two side supports is the most forgiving first build. A 60-by-26-inch top made from a laminated pine panel can usually handle a monitor, laptop, and standard office equipment if the supports sit within about 6 inches of each end. Longer tops need a center stretcher or a third support. Without it, even a thick panel can slowly bow under constant weight.
Before cutting, mark the desk footprint on the floor with painter's tape. In a 10-by-11-foot room, a 60-inch desk on the 11-foot wall leaves enough clearance for a 30-inch-deep chair pullout and a narrow bookcase. Leave at least 30 inches behind the chair if a door or cabinet opens there. Those few minutes of planning prevent a beautiful build from becoming furniture you have to work around.
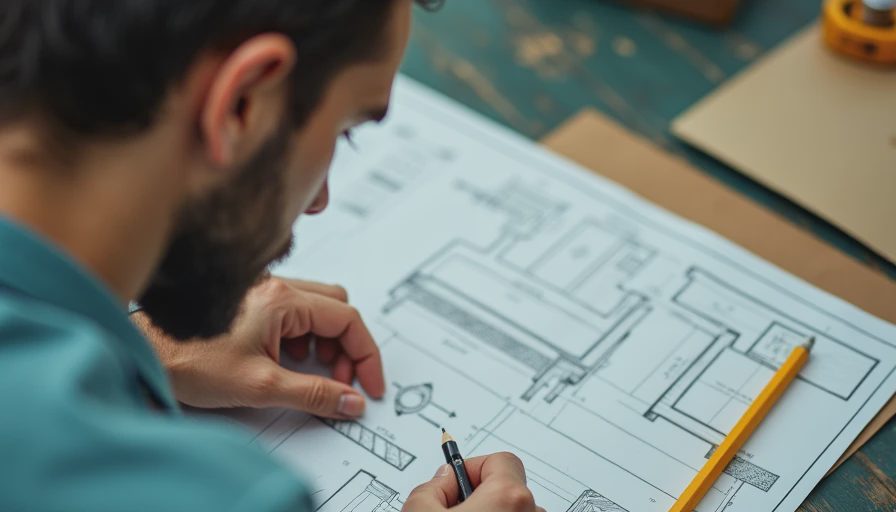
Pick materials for stability, not just appearance
Budget lumber can work well, but it needs inspection. Look down the length of each board at the hardware store. Reject pieces with a strong twist, deep cracks, or a cup across the width. A clear, straight 2-by-4 is excellent for a hidden frame, while a furniture-grade plywood panel gives a flatter, more predictable top than construction plywood.
For a durable surface, 3/4-inch birch plywood with hardwood edging is a practical choice. The plywood stays relatively stable through seasonal humidity changes, and the edging hides the layered core. Solid pine is cheaper and easier to cut, but it dents more easily and can move as moisture changes. A butcher-block countertop can be a good shortcut when you find one on sale, though its weight calls for stronger legs.
Several free DIY desk plans use medium-density fiberboard, or MDF. MDF is smooth and affordable, but it is heavy, vulnerable to swollen edges, and difficult to repair after a stripped screw. If you use it, seal every exposed edge with primer or thin hardwood strips. Do not rely on a single screw driven into MDF to hold a leg bracket under daily movement.
Build the frame so it cannot rack
Racking is the side-to-side wobble you feel when typing. It usually comes from weak connections between the legs and the top, not from a top that is too thin. Add an apron, which is a horizontal rail running beneath the desktop, along the front and back edges. Pocket screws, corner blocks, or properly sized bolts can connect the apron to the legs.
A good beginner build uses two rectangular side frames joined by a rear stretcher. Keep the stretcher 4 to 6 inches above the floor so it does not interfere with your feet. If the desk is 60 inches wide, a 48- to 52-inch rear rail will leave room for the side supports while tying the structure together. Test the frame on a flat floor before attaching the top, then check for rocking by pressing each corner.
Do not skip sanding between finish coats. A rough edge is annoying at the wrist and becomes more noticeable after hours of work. Break the front edge with light sanding rather than leaving a sharp 90-degree corner. That small change costs almost nothing and makes the desk feel substantially better.
Plan ergonomics and cable access together
A desktop height around 29 inches suits many seated adults, but your chair and body determine the final number. With your shoulders relaxed, your forearms should rest roughly level with the keyboard. If your elbows are high, shorten the legs or raise the chair. If your feet no longer sit flat, add a footrest rather than accepting pressure behind your knees.
Free DIY desk plans often treat cable management as an afterthought. Drill a 2-inch grommet hole near the rear corner for monitor and charging cables, and place a second hole near the equipment that needs power. Mount a cable tray under the rear edge, leaving enough slack for a sit-stand converter or monitor adjustment. Keep power strips off the floor where possible, but do not trap them against a heat source.
For a monitor, position the screen so the top edge is near eye level when you sit upright. A clamp-on arm saves desk depth, but confirm that the clamp can grip your desktop thickness. Thin MDF tops may need a reinforcing plate underneath to prevent crushing.
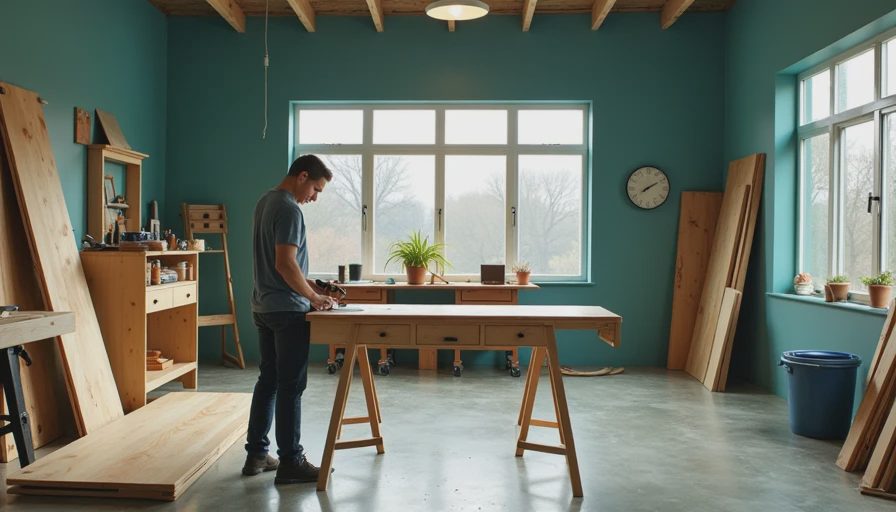
A practical finish for a working desk
For a first build, water-based polyurethane is usually the easiest finish. It dries faster than oil-based products, produces less odor, and keeps light wood from turning strongly amber. Apply several thin coats with a light sanding between coats. For a painted base, use a bonding primer followed by cabinet or furniture enamel; ordinary wall paint marks too easily on high-contact edges.
Test your finish on a scrap piece before coating the actual top. Pine can absorb stain unevenly, leaving dark patches, while birch plywood may need a pre-stain conditioner or a clear finish instead. If you want a natural appearance with easy repairs, a hardwax oil is pleasant to touch, but it needs periodic maintenance and does not hide dents.
Among free DIY desk plans, the best ones specify finish preparation instead of treating it as decoration. Your hands, coffee mug, chair arms, and cleaning routine will test that surface every day. Spend the extra hour here; it has more effect on long-term satisfaction than adding a decorative support.
Budget the project before making the first cut
A basic 60-inch desk can be built for roughly $120 to $250, depending on the top, finish, hardware, and whether you already own clamps and a drill. A plywood top with pine framing is often the value choice. Add $30 to $70 for a cable tray, grommets, and a monitor riser. Drawer hardware and premium hardwood edging can push the total beyond $300 quickly.
Compare that number with a factory desk by separating appearance from structure. A lower-priced desk may be perfectly adequate if its top is flat, its legs are braced, and its warranty covers defects. Build your own when you need an unusual width, a specific storage layout, or a desktop that fits a difficult corner. Do not build solely to save money if you would need to buy every tool and have no place to work.
The most useful free DIY desk plans are the ones you can adjust without weakening the structure. Confirm every dimension against your room, chair, and equipment. Make a cardboard mockup first, cut once, and assemble the frame before committing to finish. That process turns a weekend project into a desk you can rely on through a full workday.