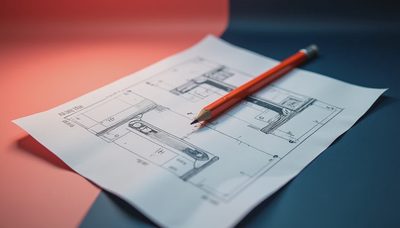

Good diy wood desk plans start with the way you work, not with a photo of a beautiful slab on Pinterest. A remote worker typing eight hours a day needs a stable top, usable legroom, sensible cable control, and a finish that will not turn sticky after a summer in a warm room. I have built my own desk three times, and the most expensive mistake was not buying premium lumber; it was getting the dimensions wrong.
For most home offices, start with a top 60 to 72 inches wide, 28 to 32 inches deep, and about 29 inches high. That gives a monitor, keyboard, notebook, and lamp enough space without consuming the room. If you use two 27-inch monitors, 72 inches is more comfortable. If the desk sits in a bedroom corner or closet office, a 48-by-24-inch surface is workable, provided the legs do not steal valuable knee space.
Choose the desk design before buying lumber
The simplest design is a solid top supported by two side panels or four legs. It is also the easiest to make rigid. A top that looks substantial but flexes when you type will annoy you every day, so aim for at least 1 inch of finished thickness. A 1 1/4-inch top is better for a 72-inch span, especially when the computer and monitor arms together weigh 40 to 60 pounds.
Among diy wood desk plans, trestle designs offer a useful middle ground. Two wide leg assemblies connect with a stretcher, which is the horizontal member that prevents the legs from spreading or wobbling. The stretcher can sit low at the back, but leave at least 24 inches of clear width between the supports for a chair and 25 inches of vertical knee clearance.
For a clean modern look, use plywood with hardwood edging. A 3/4-inch birch plywood panel costs less than a wide solid-wood slab and stays more dimensionally stable. Hardwood edging hides the layered plywood edge and adds impact resistance. Solid pine is cheaper, but it dents easily and can twist unless it is carefully dried and supported.
Plan materials around movement and strength
Wood moves as humidity changes. A solid-wood top can expand across its width, particularly in a humid summer climate such as Charlotte, North Carolina. If you attach it rigidly to a frame, the fasteners can force the top to crack or bow. Use figure-eight fasteners, tabletop clips, or elongated screw holes so the wood can shift slightly while remaining secure.
A practical beginner build uses a 1-inch-thick pine, maple, or oak top, two side panels, and a rear stretcher. Select straight boards with no large knots near the attachment points. For a 60-inch desk, three 1-by-10 boards can create a top close to 29 inches deep after glue-up and trimming. Add a fourth board if you want a deeper surface, but measure the finished width rather than trusting nominal lumber sizes.
If you choose plywood, look for cabinet-grade birch or maple plywood with seven or more plies. Construction plywood can work for a painted desk, but voids inside the sheets make routing and edge finishing unpredictable. A solid hardwood edge between 1 1/2 and 2 inches wide gives the surface a furniture-like appearance without requiring a full hardwood slab.
Build a top that stays flat
Most diy wood desk plans under-explain the glue-up. Work on a flat surface, dry-fit every board, and mark the best face before applying glue. Use four or five bar clamps across the width, alternating their position above and below the panel to reduce bowing. You do not need to drown the joint in glue; an even bead that produces a thin squeeze-out line is enough.
After the glue cures, flatten high spots with a hand plane, random-orbit sander, or router sled. Start with 80-grit paper only where needed, then move through 120 and 180 grit. Sanding directly to 220 grit can make some finishes sit unevenly because the surface becomes too closed. Ease every exposed edge with a small round-over bit or sanding block. A sharp square edge is uncomfortable against your forearms and chips quickly.
The underside deserves attention too. Break the bottom edges, mark the front and back, and drill pilot holes before attaching hardware. Pilot holes reduce splitting, especially near the end grain of pine. For a 72-inch desk, add a modest center support or rear stretcher under the top if the design leaves a long unsupported span.
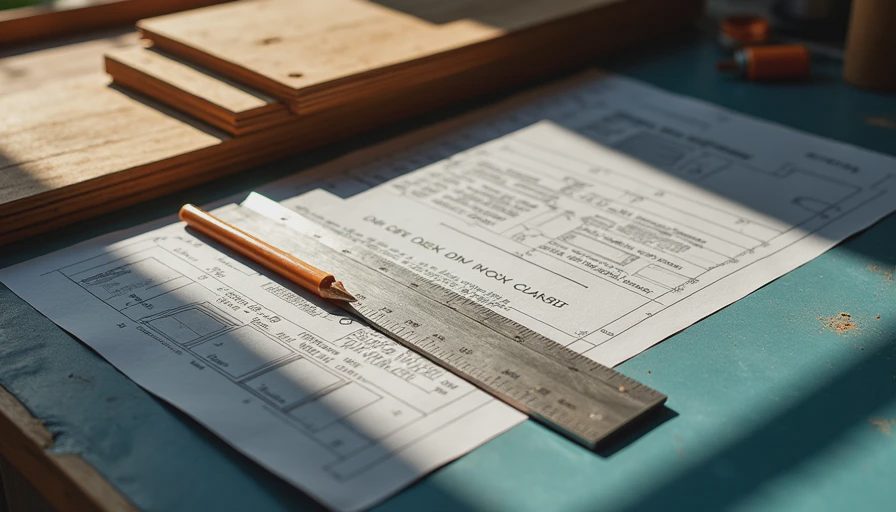
Make the frame rigid without overbuilding it
A desk frame does not need to look like a bridge, but it must resist side-to-side racking. Racking is the loose, diagonal movement that appears when the frame has square corners but no resistance to twisting. Add a rear stretcher, corner blocks, or a plywood back panel. A 4- to 6-inch-wide stretcher positioned near the back is usually enough for a normal seated desk.
Use screws and glue where the joint will not need to move. For removable assemblies, threaded inserts and machine bolts are better than repeatedly driving wood screws into the same holes. Pocket-hole joinery is fast and useful for hidden supports, but it should not carry the entire load of a large desktop unless the joints are reinforced. A mortise is a recessed slot, while a tenon is the matching projecting piece; together they create a strong traditional joint, though they require more tools and accuracy.
Before final tightening, place the frame on a flat floor and measure both diagonals. Equal diagonal measurements indicate a square rectangle. Check the desk with a level, then sit at it with your chair. A desktop around 29 inches high suits many adults, but a 28-inch top can feel better for a shorter user. The correct measurement is the one that keeps your elbows near 90 degrees when your shoulders are relaxed.
Add the features that make a workday easier
The best diy wood desk plans include cable management before the first cut. Drill a 2-inch grommet hole near the monitor stand and another near the rear corner for power cables. Keep holes at least 2 inches from an edge to avoid weakening the panel. A shallow tray screwed beneath the back can hold a power strip, while adhesive cable clips keep wires from dropping into your knees.
Think about monitor depth as well as desktop width. A 27-inch display can sit 20 to 30 inches from your eyes, so a 24-inch-deep desk may feel cramped once the stand, keyboard, and notebook are in place. If the room permits, choose 28 to 30 inches deep. For a 10-by-11-foot office, a 60-by-30-inch desk against the long wall leaves enough circulation for a chair and a narrow bookcase. In a shared room, a 48-by-24-inch desk can tuck into a corner while preserving a walkway of roughly 30 inches.
Finish, test, and budget the build
Sand the completed desk, vacuum carefully, and wipe it with a slightly damp cloth before finishing. Water-based polyurethane dries quickly and keeps light woods close to their original color. Oil-based polyurethane gives a warmer tone and more working time, but it smells stronger and takes longer to cure. Apply three thin coats to the top and at least two to the underside, lightly sanding between coats as directed on the can.
A basic pine build can land around $150 to $250, including hardware and finish. Birch plywood with hardwood edging often falls near $200 to $350. Oak or maple pushes the lumber total higher, sometimes above $450, but it can make sense if you want a desk that will survive multiple moves. Add $30 to $80 for cable hardware, threaded inserts, and quality fasteners rather than treating them as afterthoughts.
Test the finished desk before loading it. Push from each corner, sit down hard once, raise and lower your chair, and check for movement. Place your monitor, computer, and a full water bottle on the top overnight. If the desk still feels solid and the chair clears the supports, the design is doing its job. The strongest diy wood desk plans are not the flashiest; they are the ones that match the room, respect material movement, and make eight hours of work feel ordinary.