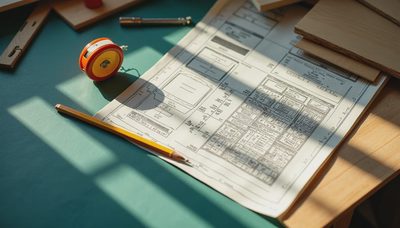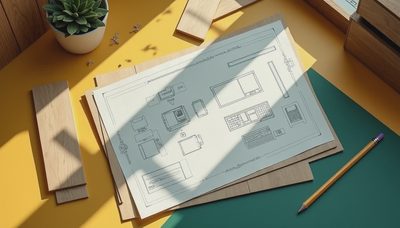
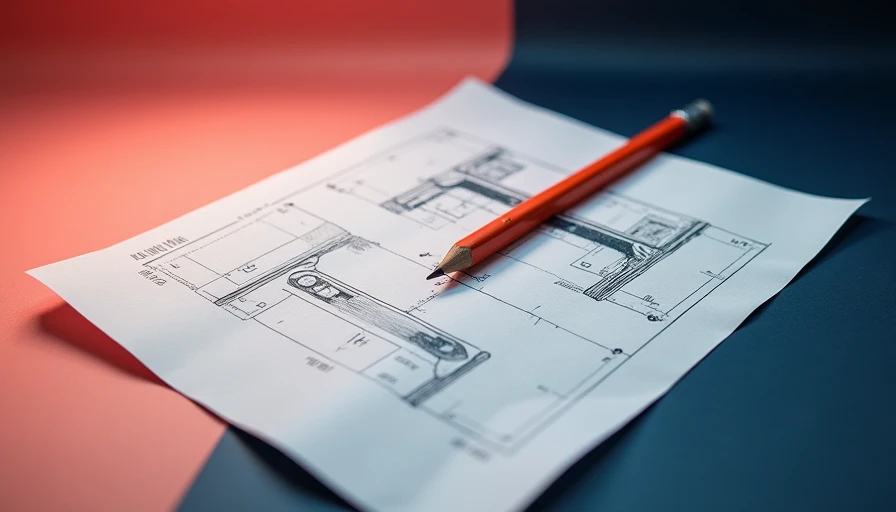

Free DIY L shaped desk plans are useful only when they account for more than two boards meeting in a corner. A desk that looks good on build day can still sag under two monitors, shake while you type, or steal too much walking space from a small room. The goal here is a workstation that supports eight-hour days, fits the actual walls you have, and uses materials you can buy without turning the project into a cabinetmaking apprenticeship.
Start with the room, not the lumber
Measure the room at floor level, then measure again at desktop height. Walls are not always square, especially in older homes like my 1960s ranch in Charlotte. Record the shortest wall-to-wall dimension, the position of outlets, the swing of the door, and the space needed to pull your chair back. A practical minimum for a working corner is about 60 inches on one wall and 48 inches on the other. For a larger setup, 72 by 60 inches gives you room for a monitor arm, printer, and writing area.
A common mistake in free DIY L shaped desk plans is designing the desktop first and discovering that the chair blocks a doorway. Leave at least 36 inches for a comfortable passage. If another person must walk behind you while you work, 42 inches is more realistic. In a 10-by-11-foot office, I would usually keep the long run at 60 to 72 inches and the return at 48 to 60 inches. That creates useful surface area without making the room feel like a storage unit.
Mark the proposed footprint on the floor with painter's tape for a day. Roll your chair into the taped corner, open drawers, and reach toward the far end. This cheap test catches layout problems before you spend $150 to $300 on plywood, solid wood, and hardware.
Choose a top that will stay flat
For most home builders, 3/4-inch plywood is the best starting material. A full 4-by-8-foot sheet can produce a 72-inch main section and a 48-inch return, depending on the cut layout. Birch plywood takes paint or clear finish well, while cabinet-grade maple plywood gives a cleaner edge. Construction plywood is cheaper, but its voids and uneven face veneers require more filling and sanding.
Solid two-by lumber can work, but it needs more preparation. Kiln-dried boards should be acclimated indoors for several days before assembly. Wood expands and contracts across its grain, so joining a wide solid top directly to a rigid frame can create cracks or cupping. If you want a solid-wood appearance without that risk, edge-band plywood and add a 1-inch hardwood face strip to the front edge.
Free DIY L shaped desk plans often show a top supported only at the two outside ends. That is not enough for a long run. Add a support near the inside corner and another every 30 to 36 inches. A 60-inch span of plywood can sag when loaded with monitors, speakers, and leaning elbows. A simple apron, which is a horizontal board under the desktop edge, improves stiffness without taking much legroom.
Build the frame for real loads
A dependable frame can be made from 2-by-4 lumber, 2-by-2 lumber, or steel legs. For a painted utility build, straight 2-by-4s are inexpensive and forgiving. Use pocket-hole screws or structural screws, and predrill near board ends to reduce splitting. Pocket holes are angled holes that let screws join boards from the hidden side; they are convenient, but they are not a substitute for a square frame.
The inside corner deserves special attention. Two separate rectangles that merely touch can wobble independently. Connect them with a solid corner block, a continuous cleat, or a pair of cross braces. A cleat is a board fastened to the wall or frame that supports the desktop edge. If you attach a cleat to drywall, screw into studs whenever possible. Wall anchors are acceptable for light trim, not for carrying a fully loaded workstation by themselves.
Set the finished desktop height around 28 to 30 inches, then compare it with your chair and keyboard position. A 29-inch top is a sensible default for many seated users, but your elbow angle matters more than a standard number. Put the keyboard where your forearms are roughly level, and do not force the chair arms under a frame that leaves no knee clearance.
Make cable management part of the build
A corner desk naturally creates a cable trap. Before fastening the top, decide where power enters and where cables should drop. A three-inch grommet near the back corner can route monitor and laptop cables below the surface. A second grommet on the return keeps a printer, lamp, or audio equipment from stretching cords across the work area.
Leave at least 3 inches between the rear edge and the wall if you need a cable raceway. A raceway is a channel that gathers wires and keeps them off the floor. Adhesive clips are fine for light cables, but a screwed-on cable tray is better for power strips and heavy adapters. Mount the power strip where you can reach it without crawling under the desk. That small decision makes cleaning and troubleshooting much easier.
Free DIY L shaped desk plans should also show how the desk comes apart. If the top is one giant fixed piece, moving it through a doorway can become a two-person wrestling match. Use bolts, threaded inserts, or separate top panels joined beneath the corner. Label the underside during assembly so the desk can be reinstalled without guesswork.
Finish the surfaces for daily use
Sand plywood edges through 120 and 180 grit, then seal them before applying paint or finish. Raw edges absorb moisture and become rough where your wrists contact the desk. Iron-on veneer edge banding is a fast option, while a glued hardwood strip is more durable and better suited to a clear finish.
For paint, a bonding primer followed by two thin coats of cabinet or trim enamel gives a tougher surface than ordinary wall paint. For clear wood, polyurethane protects against coffee rings and routine abrasion. Water-based polyurethane dries faster and keeps the color lighter; oil-based polyurethane adds warmth but needs stronger ventilation and more drying time.
Do not skip a test panel. Finish can change plywood color dramatically, and a small sample lets you check sheen against your monitor and room lighting. Satin is usually more practical than gloss because it hides fingerprints and reflects less light during video calls.
A practical build sequence
Free DIY L shaped desk plans are easiest to follow when the work happens in a controlled order. First, cut the desktop pieces and label every edge. Second, build the two support sections on a flat floor and check each corner for square by comparing diagonal measurements. Third, install the corner connector and test the frame without the top. Fourth, attach the desktop with screws through elongated holes or brackets that allow seasonal wood movement.
After assembly, push the desk from several directions. If it rocks, do not solve the problem with a folded scrap under one leg. Check for a twisted frame, uneven feet, or a loose corner joint. Adjustable furniture feet cost only a few dollars and are valuable on imperfect floors, but they should correct minor variation rather than conceal poor joinery.
For a 72-by-60-inch configuration, a realistic budget is about $180 to $350, including plywood, framing, finish, screws, cable hardware, and feet. A store-bought laminate corner desk can cost less, especially during a sale, but a custom build wins when your walls, equipment, or height requirements are unusual. The savings are not always the point; the fit is.
Before you cut: the final checklist
Free DIY L shaped desk plans should end with a measurement check, not just an attractive finished photograph. Confirm the top depth, chair clearance, outlet access, monitor height, and the direction of the return. Make sure the longest component can pass through the home’s doors and stairways. If the desk sits against a window, account for curtains, trim, and heat registers.
Plan the equipment load honestly. Two 27-inch monitors, a desktop computer, speakers, and a heavy microphone arm can easily put more stress on the corner than a laptop setup. Add a center support when in doubt. It is cheaper to install one during construction than to repair a sagging top later.
The best free DIY L shaped desk plans leave room for revisions. Build the frame sturdy, keep cable access serviceable, and spend your finish budget on the surfaces your hands touch. Done that way, the desk becomes infrastructure for your work rather than another project competing for attention.