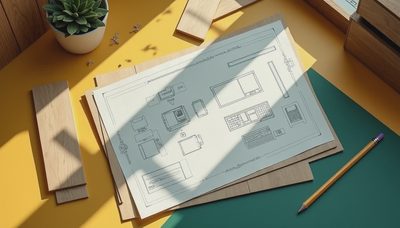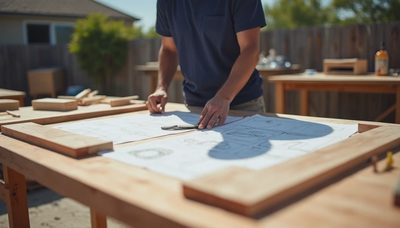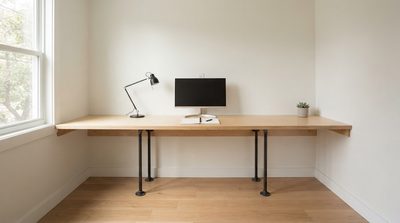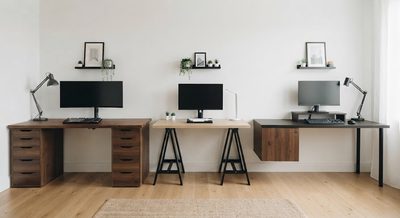
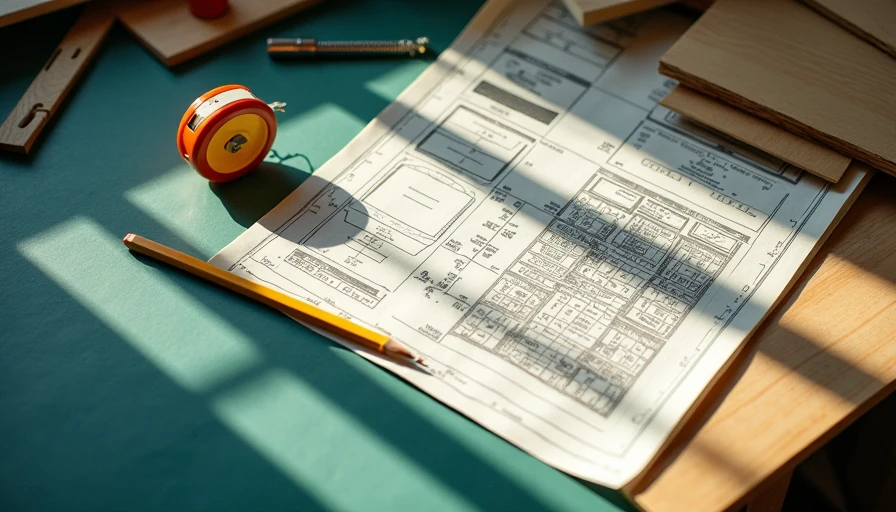

The best desk diy plans start with the work, not the wood. Before cutting a single board, decide whether you need space for two monitors, a notebook, a microphone, or a sewing machine. A desk that looks clean in a photo can be miserable after six hours because the top is too shallow, the legs block your knees, or the cable path was treated as an afterthought. I have built my own desk three times, and the lesson is consistent: accurate dimensions and sound structure matter more than decorative details.
For a full-time home office, I usually start with a work surface at least 60 inches wide and 28 to 32 inches deep. That gives a monitor arm, keyboard, writing area, and a little breathing room without demanding an entire room. If the desk will sit in a 10-by-11-foot office, leave at least 30 inches behind the chair and 24 inches beside a drawer or cabinet so the room remains usable.
Choose dimensions before materials
Desk diy plans are easier to evaluate when the measurements are settled first. A 48-by-24-inch top works in a bedroom corner or closet office, but it becomes cramped with two 27-inch monitors. A 60-by-30-inch top is a practical middle ground for remote work. At 72 inches wide, you can add speakers, paper files, and a second work zone, although that extra length needs stronger support to prevent sagging.
Set the working height around 29 inches for a fixed desk, then measure your chair rather than trusting a standard number. Your forearms should rest close to level when your shoulders are relaxed. If two people will use the desk, consider adjustable legs or a sit-stand frame. A manual crank frame often costs less than a powered model and removes one motor that can eventually fail.
Depth deserves special attention. A 24-inch surface places a monitor close to the user, especially when the screen sits on a stand. At 30 inches, the screen can move back while leaving room for a keyboard and documents. Do not make the top deeper just to use more lumber; extra reach becomes noticeable by midafternoon.
Pick a top that will stay flat
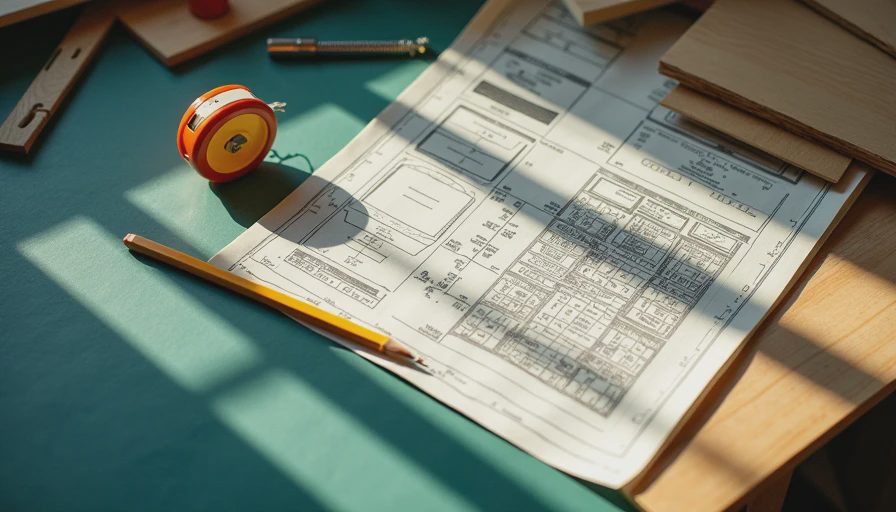
The cheapest desk diy plans often begin with a single sheet of construction plywood. That can work, but ordinary three-quarter-inch plywood needs an edge treatment and a support system. Without both, the long sides can look unfinished and the top may flex under a monitor arm.
For a durable build, three-quarter-inch cabinet-grade plywood with a hardwood edge is a sensible choice. Birch plywood has consistent layers and takes paint well. A solid wood top made from pine, maple, or oak gives a warmer look, but it needs room to expand and contract across its width. Fastening a solid top rigidly to a metal frame can cause cracking as seasons change.
A laminated countertop can be the smartest cheaper option. Butcher-block panels from home improvement stores are already flat, thick, and finished in some cases. A 60-inch countertop often costs less than buying hardwood boards, jointing them, gluing them, and sanding them. Check the underside for a flat surface and avoid panels with large knots directly over a mounting point.
The edge is more than decoration. A 1-by-2-inch hardwood strip glued and pinned to plywood makes the top feel substantially thicker and hides the layered edge. Round over the front edge slightly with a router or sanding block. A sharp 90-degree edge will press into your forearms during long typing sessions.
Build the base around real loads
Desk diy plans should account for weight, movement, and leverage. Two monitors, a computer, speakers, and a heavy lamp can easily put 80 to 120 pounds on the surface. A 60-inch top supported only at the ends may sag, particularly if the top is particleboard.
For a simple fixed desk, use two side panels plus a rear stretcher. A stretcher is the horizontal member that ties the sides together and keeps them from racking, or shifting sideways. Place it toward the back so it supports the top without interfering with your knees. A center leg or modest drawer pedestal adds support on a 72-inch desk.
Pocket screws are fast and useful for hidden connections, but they are not magic. Use glue on clean wood joints and predrill near board ends to reduce splitting. For removable legs, threaded inserts and machine bolts are better than repeatedly driving wood screws into the same holes. Tighten hardware after the first week; wood fibers compress slightly as the desk settles.
If you prefer a steel base, look for legs with a wide mounting plate and a crossbar. Hairpin legs are attractive, but their narrow footprint allows more side-to-side movement. They work best on a smaller 48-inch desk or against a wall, not on a large surface carrying a desktop computer and multiple monitors.
Plan storage and cable access together
A good desk diy plans layout includes the equipment that will live on the desk. Before finishing the top, mark the locations of power bricks, monitor arms, and cable exits. A two-inch grommet near the rear corner is enough for most power and display cables. Put the hole where cables naturally fall, not directly behind your wrist or notebook.
For a wall-facing desk, leave two to three inches between the top and the wall if cables run behind it. If the desk must sit flush, cut a shallow channel in the rear edge or use a desktop cable tray. Mount a surge protector underneath with screws or strong adhesive, keeping the switch reachable. Avoid trapping a power brick in a sealed drawer where heat cannot escape.
Storage should serve the workflow. One shallow drawer, about 3 to 4 inches high, handles pens, chargers, and a tape measure. A deeper drawer is useful for notebooks but reduces knee clearance. In a shared room, a 12-inch-deep shelf above the desk can hold reference books without consuming valuable floor space. Keep the lowest shelf at least 20 inches above the surface if a monitor will sit below it.

Finish the surface for daily use
Desk diy plans often spend pages on joinery and only a sentence on finish. That is backwards for a work surface. Sweat, coffee, dust, and the occasional marker will test the top every week.
For plywood or pine, sand progressively through 120, 180, and 220 grit. Wipe away dust between coats. Water-based polyurethane dries quickly, keeps the wood closer to its natural color, and usually works well in a home office. Oil-based finishes add warmth but take longer to cure and can leave a stronger odor. Apply several thin coats instead of one thick coat, and lightly sand between cured coats according to the product directions.
Paint is practical for plywood edges and drawer parts. Use a bonding primer first, especially on smooth factory surfaces. A satin sheen hides fingerprints better than high gloss and is easier to touch up than a deep matte finish. Let the finish cure fully before installing electronics; dry to the touch does not always mean hard enough for clamps.
A practical build sequence
The most reliable desk diy plans follow a fixed order. First, tape the proposed footprint on the floor and sit in the chair to confirm clearance. Second, buy hardware before cutting so the leg plates, inserts, and grommets are actually compatible. Third, cut the top and panels, then dry-fit everything without glue. This catches a reversed side panel or blocked cable route while corrections are still easy.
Fourth, assemble the base on a flat floor and check it for square by comparing diagonal measurements. Fifth, attach the top with brackets or elongated holes that allow seasonal wood movement. Sixth, install the cable hardware before the desk goes against the wall. Finally, load the desk gradually and test it for wobble by pressing down at each corner.
The result does not need to look like a showroom desk. It needs to hold its shape, protect your wrists, leave your knees alone, and make the next workday easier. Start with desk diy plans that match your room and equipment, then spend your budget on a flat top, rigid connections, and dependable hardware. Those are the parts you will still notice five years from now.