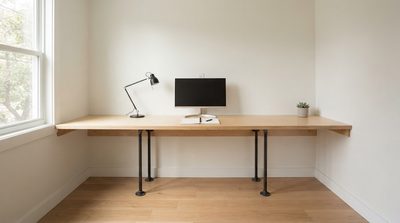


Searching for diy desk plans free usually means you want two things: a desk that fits your room and a project that does not consume your entire weekend. That is a sensible goal. The best home office desk is not the one with the fanciest legs; it is the one with enough depth for your monitor, enough stiffness for daily work, and a layout that leaves your knees and cables alone.
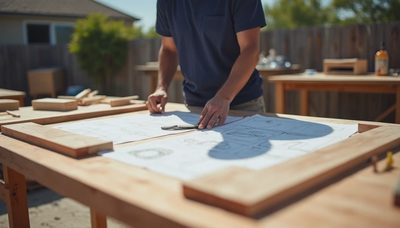
I have built my own desk three times, and each version taught me something different about materials and proportions. Start with the room, not the lumber. Measure the wall, mark the door swing, and note where outlets sit. A 10-by-11-foot office can comfortably handle a 60-inch-wide desk, but a corner workstation may need to stay closer to 48 inches so the chair can pull back without blocking the doorway.
Choose a desk size before choosing a plan
For most remote work, 48 inches wide is the practical minimum for one monitor, a laptop, and a writing area. Sixty inches gives you room for two 24-inch monitors, while 72 inches works well for a large display, speakers, and paperwork. Depth matters just as much. I prefer 30 inches for a fixed desk because it gives a monitor enough viewing distance and leaves space behind the keyboard. A 24-inch top can work in a closet office, but the screen and keyboard will feel crowded.
Set the finished height between 28 and 30 inches, depending on your chair and leg length. A simple test is to sit with your shoulders relaxed and elbows near a right angle while your forearms rest on the work surface. Do this before cutting anything. Many diy desk plans free show attractive proportions but ignore the relationship between seat height, desktop height, and monitor position.
Leave at least 30 inches of clear width for your legs. If you add a center drawer, keep its underside high enough that your knees do not hit it. A drawer that looks useful in a sketch can become an expensive annoyance after eight hours of typing.

Pick materials that will not sag
The cheapest workable top is often a 3/4-inch plywood panel with a hardwood edge band. Plywood is made from thin wood layers glued with alternating grain directions, so it is more dimensionally stable than a wide solid-wood board. For a 60-inch span, add an apron or rear stretcher beneath the top. That support prevents flex when you lean on the desk or mount a monitor arm.
A solid pine panel can also work, especially for a painted desk. Expect knots, dents, and seasonal movement, though. If you use oak, maple, or walnut, budget more for the top and spend the savings on good hardware. A 60-inch solid-wood top may cost $120 to $350, while a quality plywood top with edging can land closer to $70 to $160 before finish.
Avoid particleboard for a long unsupported span unless it has a substantial frame underneath. Particleboard is compressed wood fiber, and its screw-holding strength is limited near edges. It is perfectly reasonable for a modest shelf or cabinet, but it is a poor place to save money on the main work surface.
Build the frame for stiffness
A desk frame does not need complicated joinery. A butt joint is simply one piece meeting the end of another, usually reinforced with screws, glue, or brackets. Pocket holes hide screws inside angled pockets and are accessible to beginners. A half-lap joint removes matching sections from two boards so they overlap, creating a stronger and cleaner connection when cut accurately.
For a first build, use two side panels and a rear stretcher under the desktop. Set the stretcher about 4 inches back from the rear edge so cables can pass behind it. Attach the top with figure-eight fasteners or elongated screw holes. These fittings allow solid wood to expand and contract across its width without splitting.
Test the frame before applying finish. Push diagonally on opposite corners. If the desk rocks, check whether the floor is uneven and whether the frame is square. Measure both diagonals; matching measurements indicate a square rectangle. Add adjustable levelers beneath the legs when the floor is old, uneven, or covered by thick carpet.
Make cable management part of the plan
A desk can be structurally sound and still fail as a workstation if every cable hangs in a loose bundle. Before cutting the top, decide where power will enter. A 2-inch cable grommet near the rear corner handles a monitor, laptop charger, and lamp. A second opening near the center helps if you use two displays.
Keep the power strip attached beneath the top rather than sitting on the floor. Use adhesive cable clips for light wires and screw-mounted trays for heavier power bricks. Leave enough slack to move the monitor or unplug equipment without pulling on the connector. If the desk will sit against a wall, leave a 2-inch gap or use a shallow cable channel.
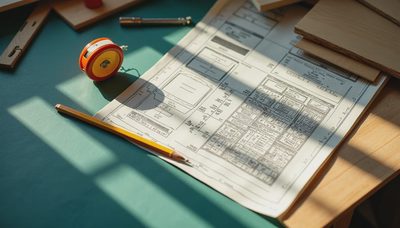
This is one area where diy desk plans free often under-explain the real-world details. Draw the underside of your desk and mark the power strip, laptop dock, and cable exits. Five minutes with a pencil is cheaper than drilling a hole in the wrong place.
Finish the surface for daily use
Sand plywood edges through 120, 180, and 220 grit if you want a smooth painted or clear-coated result. Do not round the entire desktop edge aggressively; a small 1/8-inch roundover feels comfortable against your forearms and still looks crisp. Remove dust before every coat.
Water-based polyurethane dries quickly and keeps light woods closer to their original color. Oil-based polyurethane takes longer to dry but gives a warmer tone and tends to highlight grain. For a painted desk, use primer designed for wood, then two thin coats of cabinet or furniture enamel. Thin coats resist drips better than one heavy coat.
Allow the finish to cure before installing equipment. Dry to the touch does not mean fully hardened. A monitor arm clamp can mark a soft surface, and a desk mat can trap moisture against uncured finish. Add a thin felt or rubber pad beneath clamps and speakers to protect the top.
A practical build sequence and budget
Begin by cutting the top and letting solid wood acclimate indoors for several days. Then build the frame, drill cable openings, dry-fit all parts, and sand components before assembly. Apply finish to hard-to-reach surfaces while the desk is still apart. Assemble the frame, attach the top, install levelers, and test the chair clearance before moving the finished piece into position.
A basic project using plywood, pine legs, screws, glue, finish, and cable hardware can cost $150 to $275. A hardwood version with metal legs and a quality finish can reach $400 to $700. That is still competitive with many flat-pack desks, but the value is not just the price. You get a top sized for your room, a frame designed for your equipment, and repairs that do not require replacing the entire desk.
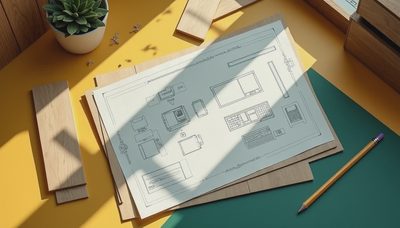
When comparing diy desk plans free, skip any drawing that omits finished dimensions, material thickness, fastener locations, or a cut list. A good plan tells you what changes when you shorten the desk or add a drawer. Build the simplest version first, then improve it after you have used it for a week. Your back, cables, and floor space will tell you more than a polished project photo ever can.