


If cable management for desk setups were only about hiding cords, most people would have solved it by now with a cheap box and a pack of zip ties. The real problem is movement, access, and maintenance. A desk has to let you plug things in, unplug them, raise or lower the top, and clean around the legs without turning into a rat’s nest every six months. That is why I think about this like furniture engineering, not decoration. The goal is a setup that looks calm, stays reachable, and does not fall apart the first time you swap a monitor or move the desk six inches.
Start with the desk, not the cords
Before you buy a single accessory, count the things that need power or data: monitor, laptop charger, dock, speakers, lamp, printer, router, and maybe a headset stand. Then look at where the plugs are in the room. A 48-inch desk against a wall can usually stay simple. A 60-by-30 desk in the middle of a room needs a different plan because you will see the back side from more than one angle. If the desk has grommets, use them. If it has a rear cable cutout or a modest lip, that matters too. I’d rather see one good opening and a clean underside than three random holes drilled after the fact.
The cable management for desk rule I use first is simple: give every cable one job and one route. Power should go one way, display cables another, and anything you unplug often should stay within easy reach. When the desk already has a tray, channel, or modest space between the apron and the top, you are ahead of the game.
The cable management for desk rule I use first
The best fix is usually a mounted power strip or surge protector under the desktop, not on the floor. A strip with six to eight outlets is enough for most home offices, and a flat plug on the wall side saves room behind the furniture. If you are using a sit-stand desk, mount the strip to the moving frame or the underside in a way that keeps the cord from getting pinched. That one detail prevents a lot of trouble later.
For bundling, skip hard plastic zip ties unless the cords will never change. Hook-and-loop ties are easier to open when you replace a monitor arm or add a laptop dock. Under-desk trays usually run about $20 to $60, and a basic set of adhesive raceways is often under $25. That is cheap insurance compared with replacing a damaged cable or living with a setup you hate to touch.
Use hardware that fits the job
Not every cable needs to disappear into a channel. Some should stay visible because you unplug them often. A charger for a laptop, phone, or wireless headset belongs on the front edge or in a small tray, not buried behind a leg where you have to crawl under the desk. If you only have one or two cords coming down a leg, a cable sleeve or a few adhesive clips is enough. If you have a dock, two monitors, and a desktop tower, use a tray plus a sleeve and let the bundle hang straight before it turns toward the wall.
I like to think in layers. The first layer is the power strip. The second is the tray or raceway. The third is the short visible run from the desk to the floor or outlet. Once those three pieces are clean, the rest is just tidying. A setup built this way usually costs less than $100 and works better than a bunch of random gadgets bought one at a time.

Make sit-stand movement easy
A standing desk changes the rules because every cable has to move with the top. Leave a service loop, which is just a bit of extra slack that lets the desk rise and lower without pulling on the plug. Six to eight inches is often enough for a monitor cable or a lamp cord, but the exact amount depends on the desk height range and where your outlet sits. Route cables so they move in a controlled arc, not a loose swing that catches on the leg or column.
This is also where monitor arms earn their keep. A good arm reduces clutter on the surface and gives you a built-in path for display cables. Many arms include clips or channels, and that makes the back of the desk easier to read at a glance. If you are shopping for a new desk and cable management matters, look for steel frames, leg covers, and a tray mounting point. Those details are more useful than a glossy finish you will never notice after week two.
Small rooms need tighter routing
In a 10-by-11 office, every inch matters. If the desk sits in a corner, run cords along the back edge and drop them to the nearest outlet on the least visible side. If the room doubles as a guest room, keep the floor clear and avoid loose power bricks under an open chair path. For a closet office, mount the power strip higher on the side wall and use short cords whenever you can. Shorter runs reduce clutter and make it easier to vacuum, which sounds minor until you are trying to keep dust out of a compact work area.
A cheap fixed-height desk can be the smarter buy if your setup is simple. One laptop, one monitor, and a charger do not need a complicated frame just to stay organized. Save the budget for a better tray, a decent surge protector, and a monitor arm with real cable channels. That combination usually does more for the room than a pricier desk with no planning behind it.
The twenty-minute reset that keeps it clean
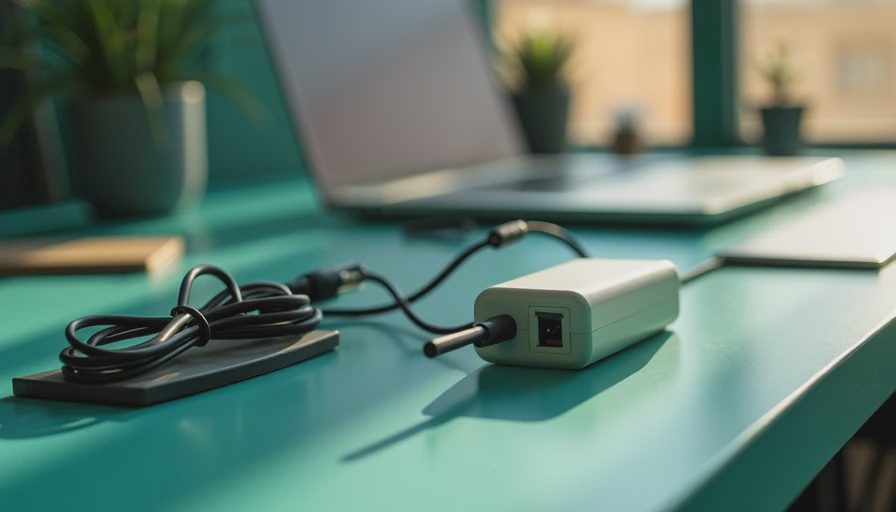
Once the hardware is in place, maintenance is easy. Every few months, unplug the desk, dust the tray, check for cracked clips, and loosen any tie that is biting into a cable jacket. If something changed, like a new monitor or dock, reroute it before the bundle gets messy again. This is the part most people skip, then wonder why the desk looks rough a year later. The answer is usually not a bad product. It is a good product that never got adjusted after the workspace changed.
Good cable management for desk work should disappear into the background while you are typing and still make sense when you kneel down to plug in a charger. That is the standard I use in my own office in Charlotte, and it is the same one I would use in a spare bedroom, a basement corner, or a full-time studio. If your cable management for desk still starts with a floor pile and ends with a shrug, fix the route first, then pick the accessories. The desk will feel better every day after that.