


Standing desk cable management is one of those jobs that looks minor until you raise the desk and watch a charger yank loose, a monitor cable go taut, and a power strip scrape the floor. I have seen plenty of good desks made miserable by a $12 problem. The fix is not buying a fancier frame. It is giving every cord a job, a path, and enough slack to move with the desk without hanging like a washing line. If you work eight hours a day from the same setup, this is not decoration. It is part of the furniture build.
Start with the movement, not the mess
Before you buy clips or sleeves, stand at the desk and move it from its lowest height to its highest height. That full travel range tells you everything. A 48-inch desk with one monitor, a laptop dock, and a lamp needs a different layout than a 60-by-30 top with dual arms and a printer. The mistake I see most often is routing everything straight down the nearest leg and hoping gravity will be nice. Gravity is not nice. It pulls the bundle tight, twists the power brick, and turns every up-down cycle into a little tug-of-war.
Good standing desk cable management starts by picking a fixed anchor point under the desktop, usually a tray or a small power strip mount, and then leaving a service loop, which is just a controlled length of slack that lets the desk move without stress. Keep the heaviest items, like the surge protector and dock, under the desktop instead of on the floor. Then route the bundle down one side of the frame, not both, so the motion stays predictable. If the desk is against a wall, leave 2 to 4 inches of breathing room behind it and use right-angle plugs where the cords would otherwise stick out too far.

The parts that actually solve the problem
You do not need exotic hardware. You need the right three or four parts. The workhorse is an under-desk cable tray, usually steel or heavy wire, because it gives you a home for the power strip and keeps brick-shaped chargers off the floor. Add a short J-channel or raceway if your desk has to run near the wall and you want the vertical drop to look clean. Use adhesive clips only for light control, not as the main load-bearing solution. They are great for a mouse cable or a monitor lead, and bad at holding a whole bundle.
For soft organization, reusable hook-and-loop ties beat zip ties almost every time. Zip ties look tidy for a week and become annoying the first time you swap a dock or move a monitor arm. A braided sleeve works well when several low-voltage cords need to travel together, but I would not stuff power cords and data cables into a sleeve so tight that you cannot separate them later. If your desk has grommet holes, use them. If it does not, a clamp-on cable tray and a monitor arm with built-in channels will do more for the room than another decorative accessory ever will.
Route each cable based on what it does
Power should take the shortest clean path. Video and data should stay out of the way of the moving parts. That means your monitor cable, USB-C dock cable, and lamp cord should not all be bound into one hard knot from desktop to floor. Let the heavier power strip sit under the top, then drop one bundled line down the frame to the outlet. From there, fan out only what needs to reach the floor. If you use a laptop dock, keep the dock close to where you sit so the short cords do not drape across the work surface like a trap.
A dual monitor setup needs a little more care. Clamp arms are worth it because they free up desk depth, but they also create a moving point that cable management has to respect. Leave enough slack at the arm pivot so the cable does not pinch when you swivel the screen. If you run a laptop charger, keep the brick accessible. Tuck it away, but do not bury it so deep that unplugging it becomes a five-minute project. The goal is a setup that can be reconfigured in ten minutes, not a permanent sculpture.
A realistic layout for a home office that is not a showroom
In a 10-by-11 room, I would usually put a 60-by-30 desk on the longest wall and center the chair position on the working zone, not the room center. That gives you enough depth for dual monitors without forcing the desk to float in the middle of the floor. Mount the tray about 6 to 8 inches back from the front edge, keep the power strip inside it, and run the main drop down the same leg as the outlet. If the outlet is behind the desk, a short cord with a right-angle plug is cleaner than a long loop of extra cable.
If the room is shared, corner placement can be smarter. A corner lets one side hold the vertical cable drop while the other side stays open for a printer or a filing bin. In that kind of room, the room stays livable only when the bundle follows the furniture line instead of cutting across open space. That is the whole trick of standing desk cable management: make the cords disappear into the structure you already own instead of treating them like a separate project.
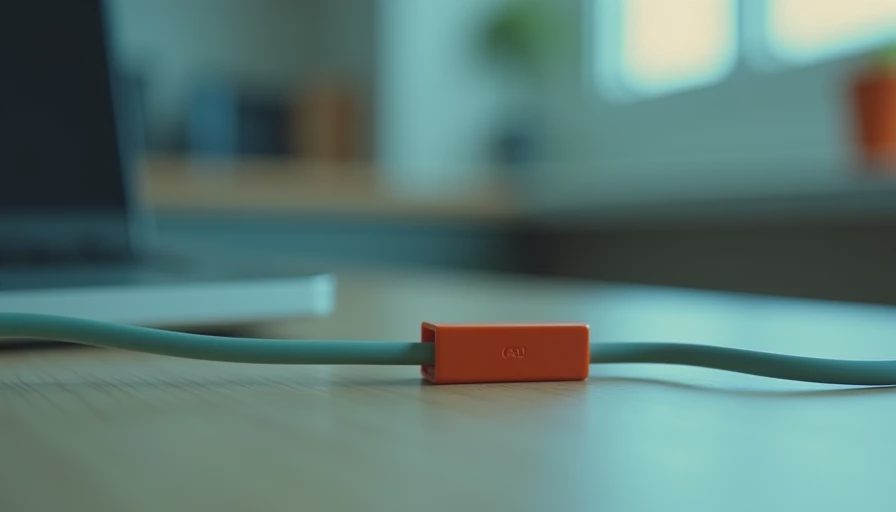
What I would buy first, and what I would skip
For standing desk cable management, spend first on the pieces that reduce movement stress. A sturdy under-desk tray, a decent surge protector, and reusable ties are the core kit. Those three items usually cost less than a single midrange monitor arm, and they solve the biggest problems. After that, buy only what the desk layout demands. A raceway kit makes sense if the desk sits away from the wall or if you need a clean vertical line. A sleeve makes sense when several light cords must travel together. A magnetic clip is fine for a charger lead, but it should never be the main support for the whole setup.
This is also where people overspend. They buy a premium desk with built-in cable channels, then run the cords badly and wonder why the room still looks messy. A cheaper desk with solid steel legs, a basic tray, and a sensible route can work just as well. If your desk raises and lowers without pulling on a single plug, you have done the job. If it takes two hands and a prayer to move it, the cable plan is still wrong.
The simple test before you call it done
Raise the desk all the way up. Lower it all the way down. Turn the monitors left and right. Unplug the dock once to make sure you can reach it without crawling under the top. If nothing snags, nothing bows, and nothing falls out of place, the setup is finished. That is the standard I use in my own office, whether I am testing a new frame in Charlotte or just cleaning up the bench after a project. Good furniture should disappear into the work. Standing desk cable management is what lets that happen.