


A cable management desk is not really about making a workspace look tidy for a photo. It is about keeping the power strip reachable, the laptop charger from falling behind the cabinet, and the floor clear enough that your chair rolls the way it should. In a room where you work eight hours a day, those little failures add up fast. I have seen plenty of nice desktops ruined by a rat’s nest of adapters, and I have also seen plain desks work well because the cords were planned from the start.
The good news is that this is not a hard problem. You do not need a custom millwork shop or a full weekend of tinkering. You need a desk with a sane path for power, a place to hide the strip, and enough structure under the top to keep the cables from hanging in view every time you stand up or sit down.
What a cable management desk should solve first
The first job of a cable management desk is simple: move the mess off the floor and away from your feet. That means thinking about the path from wall outlet to power strip to monitor, laptop, dock, lamp, and charger. If that path crosses the chair base, the drawer pull, or the leg of the desk, you will notice it every day. A good setup keeps the power strip under the top, the excess cord length bundled, and the visible run as short as possible.
The second job is access. People like to hide everything, then discover they have to crawl under the desk just to unplug a printer or switch a monitor. That is bad design. Leave yourself enough slack to move the desk, enough room to reach a switch, and enough space around a sit-stand frame so the cords do not stretch when the desk rises. A clean setup is not just cleaner. It is easier to live with.
For most home offices, the cheapest fix is also the smartest one. A steel cable tray, a few adhesive clips, and a decent 6-outlet surge protector usually beat a fancy desk accessory bundle. You are trying to solve routing, not decorate the underside of the desk.
Start with the desk frame and the power path
Before you buy accessories, look at the desk itself. A top that is 24 to 30 inches deep gives you room for a monitor, keyboard, and a hidden strip without forcing cables to hang off the back edge. If the desk has a modest apron or a stiff frame rail, check that there is still clearance for a tray or mounted power strip. Some cheaper desks look fine on the sales page and then leave you nowhere to fasten anything underneath.
Sit-stand desks need even more planning because the cable path has to flex. A cable spine or soft cable sleeve can keep cords together as the desk moves, but it has to be sized for the full travel range. I usually tell people to leave a little extra slack at the top, then secure the slack in a loop under the top or on the rear leg. If you do not, the first time the desk rises with a monitor attached, something will tug loose.
A grommet hole helps a lot, and you do not need more than one if the layout is simple. Run the monitor cable, charging cable, and lamp lead through the same opening, then bring the power strip up under the desk rather than letting every plug dangle separately. That is the difference between a desk that just holds gear and a desk that actually manages it.

What to buy for a cable management desk
If I were outfitting a typical home office from scratch, I would start with three things: an under-desk cable tray, a surge protector with enough outlets for the real number of devices, and reusable Velcro ties. The tray can be a simple steel basket or a flat channel. Either works if it is deep enough to hold the strip and the extra cord length. Velcro beats zip ties because you will change something later, and you should plan for that.
After that, add a few smaller pieces where they earn their keep. Adhesive clips are good for a monitor arm cable or the lead to a desk lamp. A power brick tray helps if you use a laptop charger with a bulky transformer. If your desk sits in a corner, a short raceway or paintable cord cover can clean up the last visible run to the outlet. None of these parts are expensive, and that is part of the point. A cable management desk should not become a parts project.
I like to think of accessories in layers. The tray handles the bulk, the clips handle the visible runs, and the ties handle the slack. When you stack those three jobs correctly, the desk stays readable even when you add a second monitor, a webcam, or a printer later on.
Room layouts that work in real houses
A cable management desk in a 10 by 11 office has to stay compact. Push the desk against the longest wall, leave about 30 inches behind the chair for movement, and keep the outlet side easy to reach. If the room also needs a filing cabinet or bookcase, put storage on the opposite wall so the cord path stays short and the center of the room stays open.
In a shared guest room, the trick is hiding the utility when the room is off-duty. A desk with a modest rear overhang lets you mount the tray and power strip without making the back edge bulky. That keeps the desk from looking like a workshop table. In a closet office, where depth is tight, mount the strip high on the back wall and keep the floor clear. You want the chair to roll in and out without catching on a loose line.
For a corner setup, do not force every cable to turn at a sharp right angle right away. Give the cords a little arc behind the desk, then guide them to the wall. That small bit of slack keeps plugs from working loose and makes it easier to pull the desk out for a deep clean later.
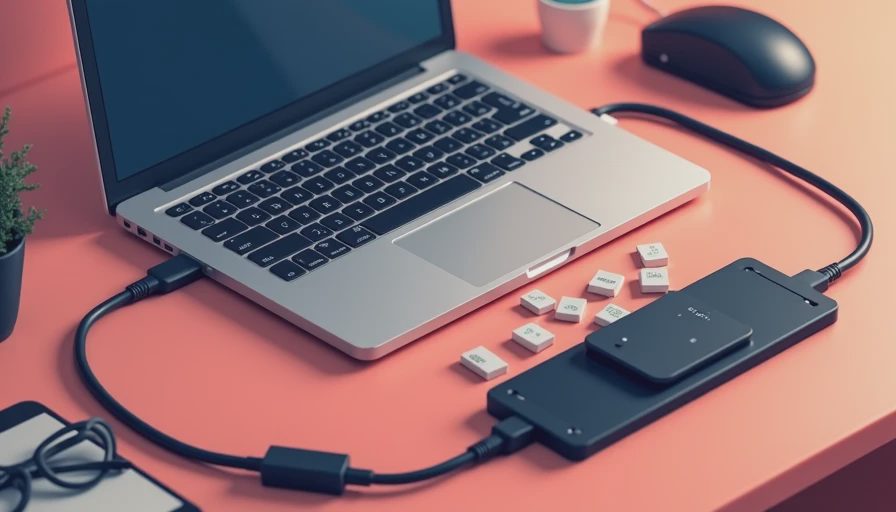
When to spend and when to save
Spend more on the desk structure if the frame is weak, the top flexes, or the underside has no place to mount hardware. That is money well spent because the whole setup depends on the frame holding its shape. Save on the accessories if the desk already has a solid back rail or a clean grommet layout. A basic tray from IKEA, Monoprice, or a similar no-frills brand can do the job just fine if the dimensions are right.
I would also spend a little extra on the power strip. Look for enough spacing between outlets so bulky adapters do not block each other, and choose one with a long cord if the wall outlet is awkward. That is a small upgrade that pays off every time you add a device. By contrast, decorative cable boxes and overpriced clip kits rarely solve anything your hands can already do with a tray and Velcro.
The right cable management desk is the one that matches how you actually work. If you plug in one laptop and one monitor, keep it simple. If you run a dock, two monitors, a printer, and a charging station, build a little more structure into the underside. Either way, aim for a setup you can reach, clean, and change without starting over. If you want the desk to feel calm at 9 a.m. and still look decent at 5 p.m., plan the cables before you buy the chair, not after.
A quick checklist before you order
Measure the wall, the desk depth, and the distance to the nearest outlet. Decide where the power strip will live. Check whether the underside has a rail, apron, or frame crossbar for mounting. Then look at the way your chair, monitor arm, and laptop cable will move during a normal day. If all three can move without tugging, you are close.
That is the whole game. A cable management desk does not need to be perfect. It needs to be quiet, reachable, and easy to maintain. Get those three things right, and the room starts feeling bigger the first day you use it.