
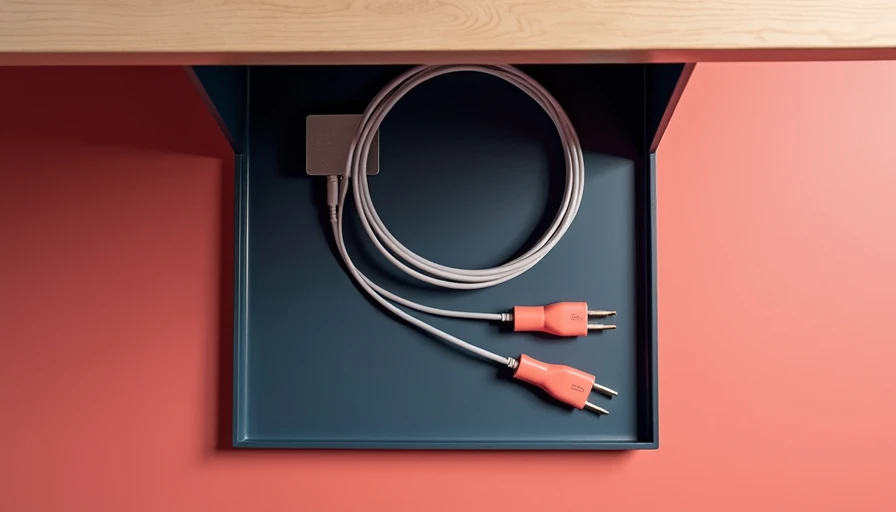

If your home office has a power strip on the floor and three cords draping off the back edge of the desk, an under desk cable management tray is one of the cheapest fixes that actually changes how the room works. It gets the brick-sized power supply off the carpet, keeps monitor and laptop cords from snagging when you raise the desk, and gives you one place to route everything instead of letting it spill out behind the legs. For a desk that gets used eight hours a day, that matters more than a prettier desktop photo.
What it actually fixes
An under desk cable management tray is not there just to hide wires. It protects the plugs, keeps vacuum cords and feet from catching on loose loops, and makes the desk easier to clean. That is a big deal in a 10 by 11 office, where every square foot has to earn its keep. A raised tray also gives you a safer path for a surge protector, which means you are less likely to leave a power brick on the carpet where dust and heat build up.
The other win is serviceability. When the tray is mounted well, you can unplug a laptop, swap a monitor arm, or add an Ethernet cable without crawling under the desk and sorting through a mess. An under desk cable management tray is the cleanest place to park the ugly parts of a setup: the power strip, the charging brick, the extra cord from a dock, and the slack you need for a sit-stand desk to move without yanking anything loose.
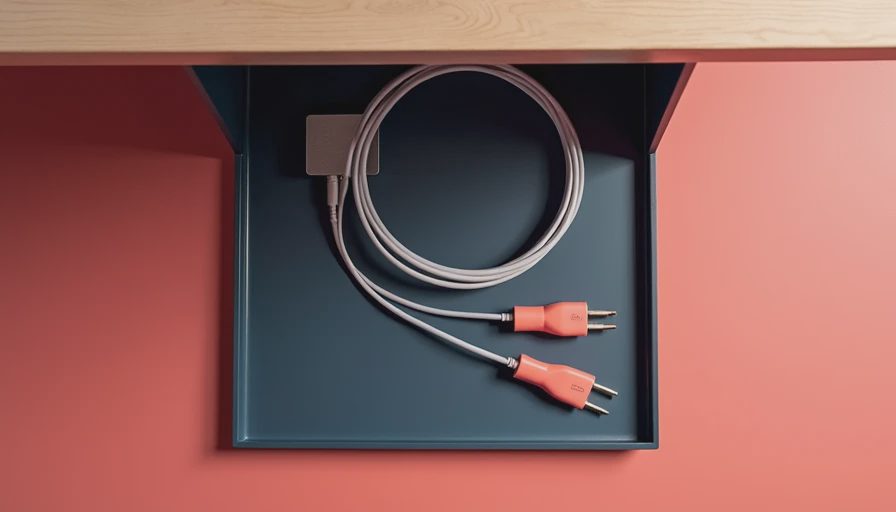
A good setup looks boring on purpose. You should be able to look under the desktop and see a shallow steel channel, a neat bundle of cords, and enough open space that your knees do not hit anything when you sit down. If the tray hangs too low, or if it leaves the cords exposed, it is doing half the job and asking for trouble later.
Size, material, and mounting choices
The first thing I look at is length. For a single-monitor desk, 24 to 28 inches is usually enough. For a two-monitor or dock-heavy setup, 30 to 42 inches gives you more breathing room. Depth matters too. If the tray is only a couple of inches deep, the power strip and brick ends up stacked on top of each other. Around 4 to 5 inches of usable depth is a better target because it leaves room for a surge protector, a few extra adapters, and the odd oversized laptop charger.
Material is where cheap and decent start to separate. Powder-coated steel is the safest buy because it does not flex much and it holds screws well. Thin wire baskets are fine if they are stiff, but the flimsy ones bend when you tighten the hardware and start rattling once the desk moves. Aluminum looks nice, but I prefer steel for a working office because it tolerates a heavier load and does not feel fragile when you are routing cables by touch.
Mounting matters just as much as the tray itself. If your desk has a metal frame, fastening into the frame rail is better than depending on a thin particleboard top. If the top is solid wood or a thick laminated panel, predrill the holes and use the screws that come with the tray or a slightly shorter wood screw. The goal is a tray that stays tight when you bump it, not one that tears loose the first time you pull a plug.
Installation that does not chew up the desk
The safest way to install an under desk cable management tray is to flip the desk if you can, mark the frame rails, and drill pilot holes before the first screw goes in. On a standing desk, that usually means using the underside crossbar or the rear apron, not the thinnest spot in the middle of the top. If you are working with a laminate top, drill slow and use the right bit size so the surface does not chip around the hole.
Start by laying the tray upside down and deciding where the power strip will sit. I like the outlets facing the open side of the tray, not the wall, so the plug ends are easy to reach later. Leave enough room for the desk legs and any monitor arm clamp. A tray that is centered but blocked by hardware is the wrong placement, even if it looks neat from the room.
Once the tray is on, route the cords in layers. Put the power strip in first, then the biggest charger bricks, then the thinner USB and display cables. Use reusable Velcro ties, not cheap zip ties, because you will change something eventually. If the desk raises and lowers, leave a loose service loop so the cords can travel with the frame instead of pulling tight at full height.
The quickest mistake is overstuffing the tray. If it takes force to close the lid or tuck the cords in, you need a larger tray or a second routing point. A cramped tray looks tidy on day one and becomes a nuisance by week three.

What I would buy for common desk setups
For a 48 by 24 desk with one laptop, one monitor, and a charging dock, I would buy a simple steel tray in the $20 to $35 range and spend the rest on a decent surge protector. That is where IKEA and similar budget options make sense. You do not need a showpiece under there; you need a rigid channel that stays out of the way and keeps the cords from falling to the floor.
For a 60 by 30 sit-stand desk with two monitors, I would move up to a longer tray in the $50 to $90 range, especially if the desk gets raised every day. This is where sturdier powder coat, better hardware, and a deeper basket earn their keep. The more gear you have, the more valuable it is to give the bricks and coils some room instead of piling them on top of each other.
For a shared office or a room that doubles as a guest space, I would also look at how the tray changes the visual line from the doorway. If the desk is the first thing you see when you walk in, a cleaner underside makes the whole room feel calmer. That is why a little extra spend can be smarter than chasing the lowest price. A well-made tray lasts through a desk upgrade, a laptop swap, and probably one room rearrangement.
When to skip it and use a different fix
An under desk cable management tray is the wrong move for a glass desktop, a very thin top with no frame, or a desk that already sits so low that your knees are close to the underside. In those cases, a wall-mounted power strip, adhesive raceway, or a small cable box on the floor can solve the problem with less risk. If you rent and cannot drill, a stick-on channel is a decent temporary fix, even if it will not hold as much weight.
I also skip a tray when the setup is meant to be moved around often, like a folding desk in a spare room or a laptop cart that rolls between spaces. Heavy hardware turns into dead weight when flexibility matters more than neatness. That is the tradeoff most people miss. Cable management is not about hiding everything at any cost. It is about choosing the lightest fix that keeps the desk usable every day.
A quick buying checklist before you order
Before you buy, measure the underside clearance, note where the frame rails sit, and count the number of power bricks you need to park. If the tray is only holding a laptop charger and a small surge protector, keep it simple. If it has to carry a dock, a monitor power supply, a phone charger, and a strip with six plugs in use, size up.
Also check the screw pattern and whether the hardware is included. Some trays come with short screws that work fine on a wood top but are useless on a steel frame. Some arrive with soft fasteners that strip too easily. I prefer a tray that uses straightforward hardware and leaves enough room to replace a cable later without taking the whole thing apart.
The best under desk cable management tray is the one you stop thinking about after install. It should disappear into the desk, keep the cords where they belong, and still leave you room to add one more charger next year without rebuilding the whole setup.